Mark explores the topic of shooting air rifles with open sights, and how getting to grips with them can make you a better shooter.
Don't run before you can walk', is an old adage that still rings true, and when I think back to my early days of airgun shooting, it's wholly appropriate. Many of us started out with a simple spring-powered rifle that came fitted with open sights – also known as iron sights – and it's a time-honoured way of sighting up to hit our target. Traditional military rifles have utilised the system in one form or another, and the principles behind it have stood the test of time, but with an abundance of alternative sighting systems, scopes, red dots and the like, it's just too tempting for many to resist the lure of something more sophisticated.
High magnification, intricate reticles, even thermal-imaging, all act as a pull on any novice to the sport to over-invest at the outset, and from the off, almost disregard any sights that come factory fitted. In my view, shooters who take such a route are possibly missing out. Inevitably, open sights can be dismissed as old-fashioned, crude, and overly simple, but take the time to learn the ropes and the idea behind them, and their use can prove extremely satisfying and educational in equal measure.
 Different forms of open sights
Match rifles of the type long used in the Olympic disciplines utilise the dioptre sight – in effect, a more sophisticated form of open sight – and this takes the form of a fore sight that normally features interchangeable elements; different sized rings, either clear Perspex, or metal, and the occasional post design. The rear sight is the dioptre unit that features a small aperture, viewed through the rubber shrouded eyepiece. When sighting the target, it's all about getting everything centralised – get the fore sight central inside the dioptre's circular image, and in turn, hold both centrally over the target.
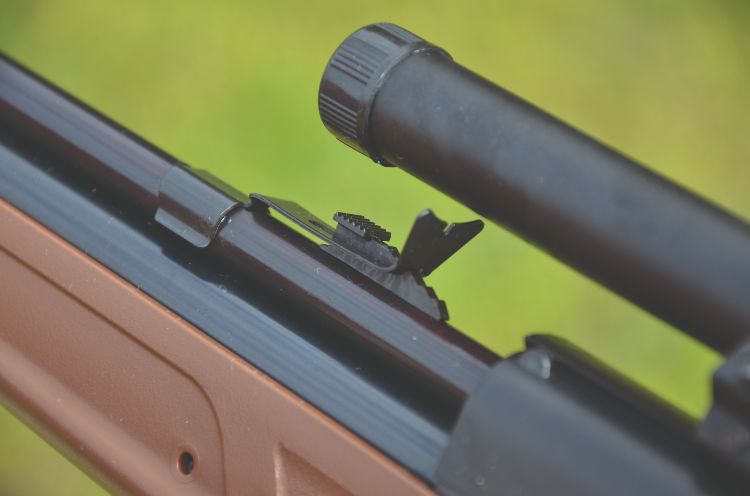
Budget spring-powered airguns normally come fitted with standard open sights, of the type that have a blade or bead for the fore sight, and a notch or ‘V’ aperture to form the rear sight. Slight variations on the theme can be encountered, and Crosman is one of the manufacturers to utilise a simple sprung-leaf design, and occasionally even their peep sight, where the rear aperture is actually a pin hole, through which the fore sight is viewed.
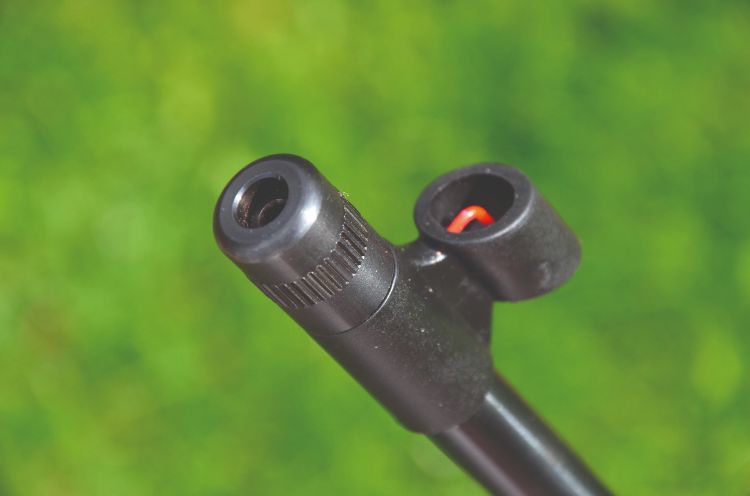
Many modern examples make use of fibre-optics, offering a red or green element up front for the fore sight, and two coloured elements at the rear, forming the aperture. These brightly coloured elements appear to glow as they make use of ambient light, and the result is a much clearer sight picture than standard black metal. A perfect example is a gun such as the Diana 34 EMS, and while this break-barrel will always reward the use of a scope, just shooting it initially with its excellent open sights will prove a real eye-opener to what is possible.
 The basic principle behind shooting with open sights
The simple principle behind this method of sighting up is to keep everything centralised and on an even level. Hold the fore sight post absolutely central within the rear sight notch or groove, and make sure that it stays level with the top of the rear-sight notch, too. The gap on each side should be even, and the whole sight picture also needs to be level; i.e. be mindful not to cant the rifle over to the left or right because this could well set up a cross-over of the trajectory, where shots go to the left or right of the intended mark. If using standard, black open sights with no fibre-optics, a good tip can be to add a neat dot of either Tippex, paint or nail varnish, to highlight the fore sight element/post, or make a mark either side of the rear sight 'notch'. Either way, the sight picture can be dramatically improved in this way for easier shooting.
 The limitations of shooting with open sights
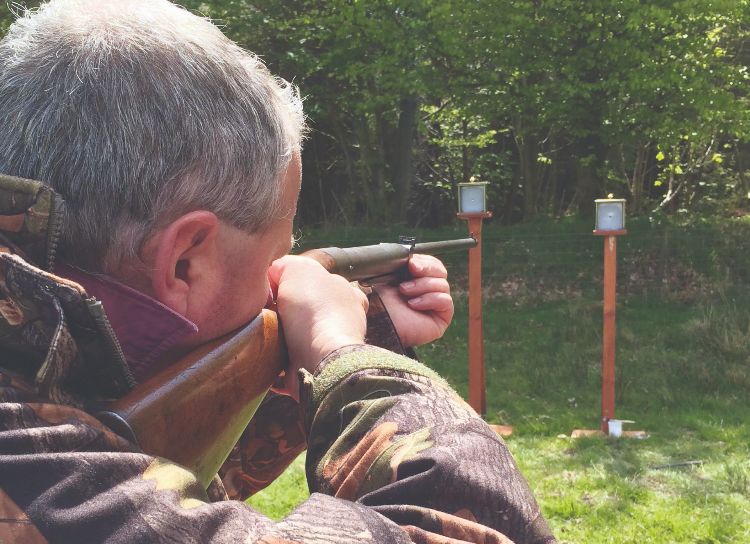
In my experience, a realistic maximum distance with open sights seems to be around 25 yards, and over this distance, you might be surprised by just how accurate you can be. Of course, as we get older, failing eyesight makes everything just a little bit more challenging, so there are no hard and fast rules. We often talk about field of view where scopes are concerned, and there's no greater field of view than when shooting with open sights, and the simplicity of the approach is quite liberating – especially given the constraints and additional demands of using a telescopic sight. So, do we keep both eyes open, or shut the left if we are right-handed, and vice versa? I was always taught to close the eye that I'm not using, both with open sights and scope use, but latterly, the thinking has been that it is more relaxing for the muscles if both eyes stay open, so this is what I now try to do. As usual, guidelines are just that, and what suits the individual can take precedence.
Specific challenges such as navigating an HFT target course, obviously requires a scope to see targets in detail. My point is, simply jumping straight to using a scope at the early stages of learning to shoot can be a shame, and cause us to miss out on good basic grounding that will only ever serve to improve our shooting overall, as well as being a wholly satisfying experience in its own right. Youngsters are well advised to tread this path, and their superior vision will give them a natural advantage, too, but in my experience, you're never too old to get back to basics – and it can be stress-free and great fun.